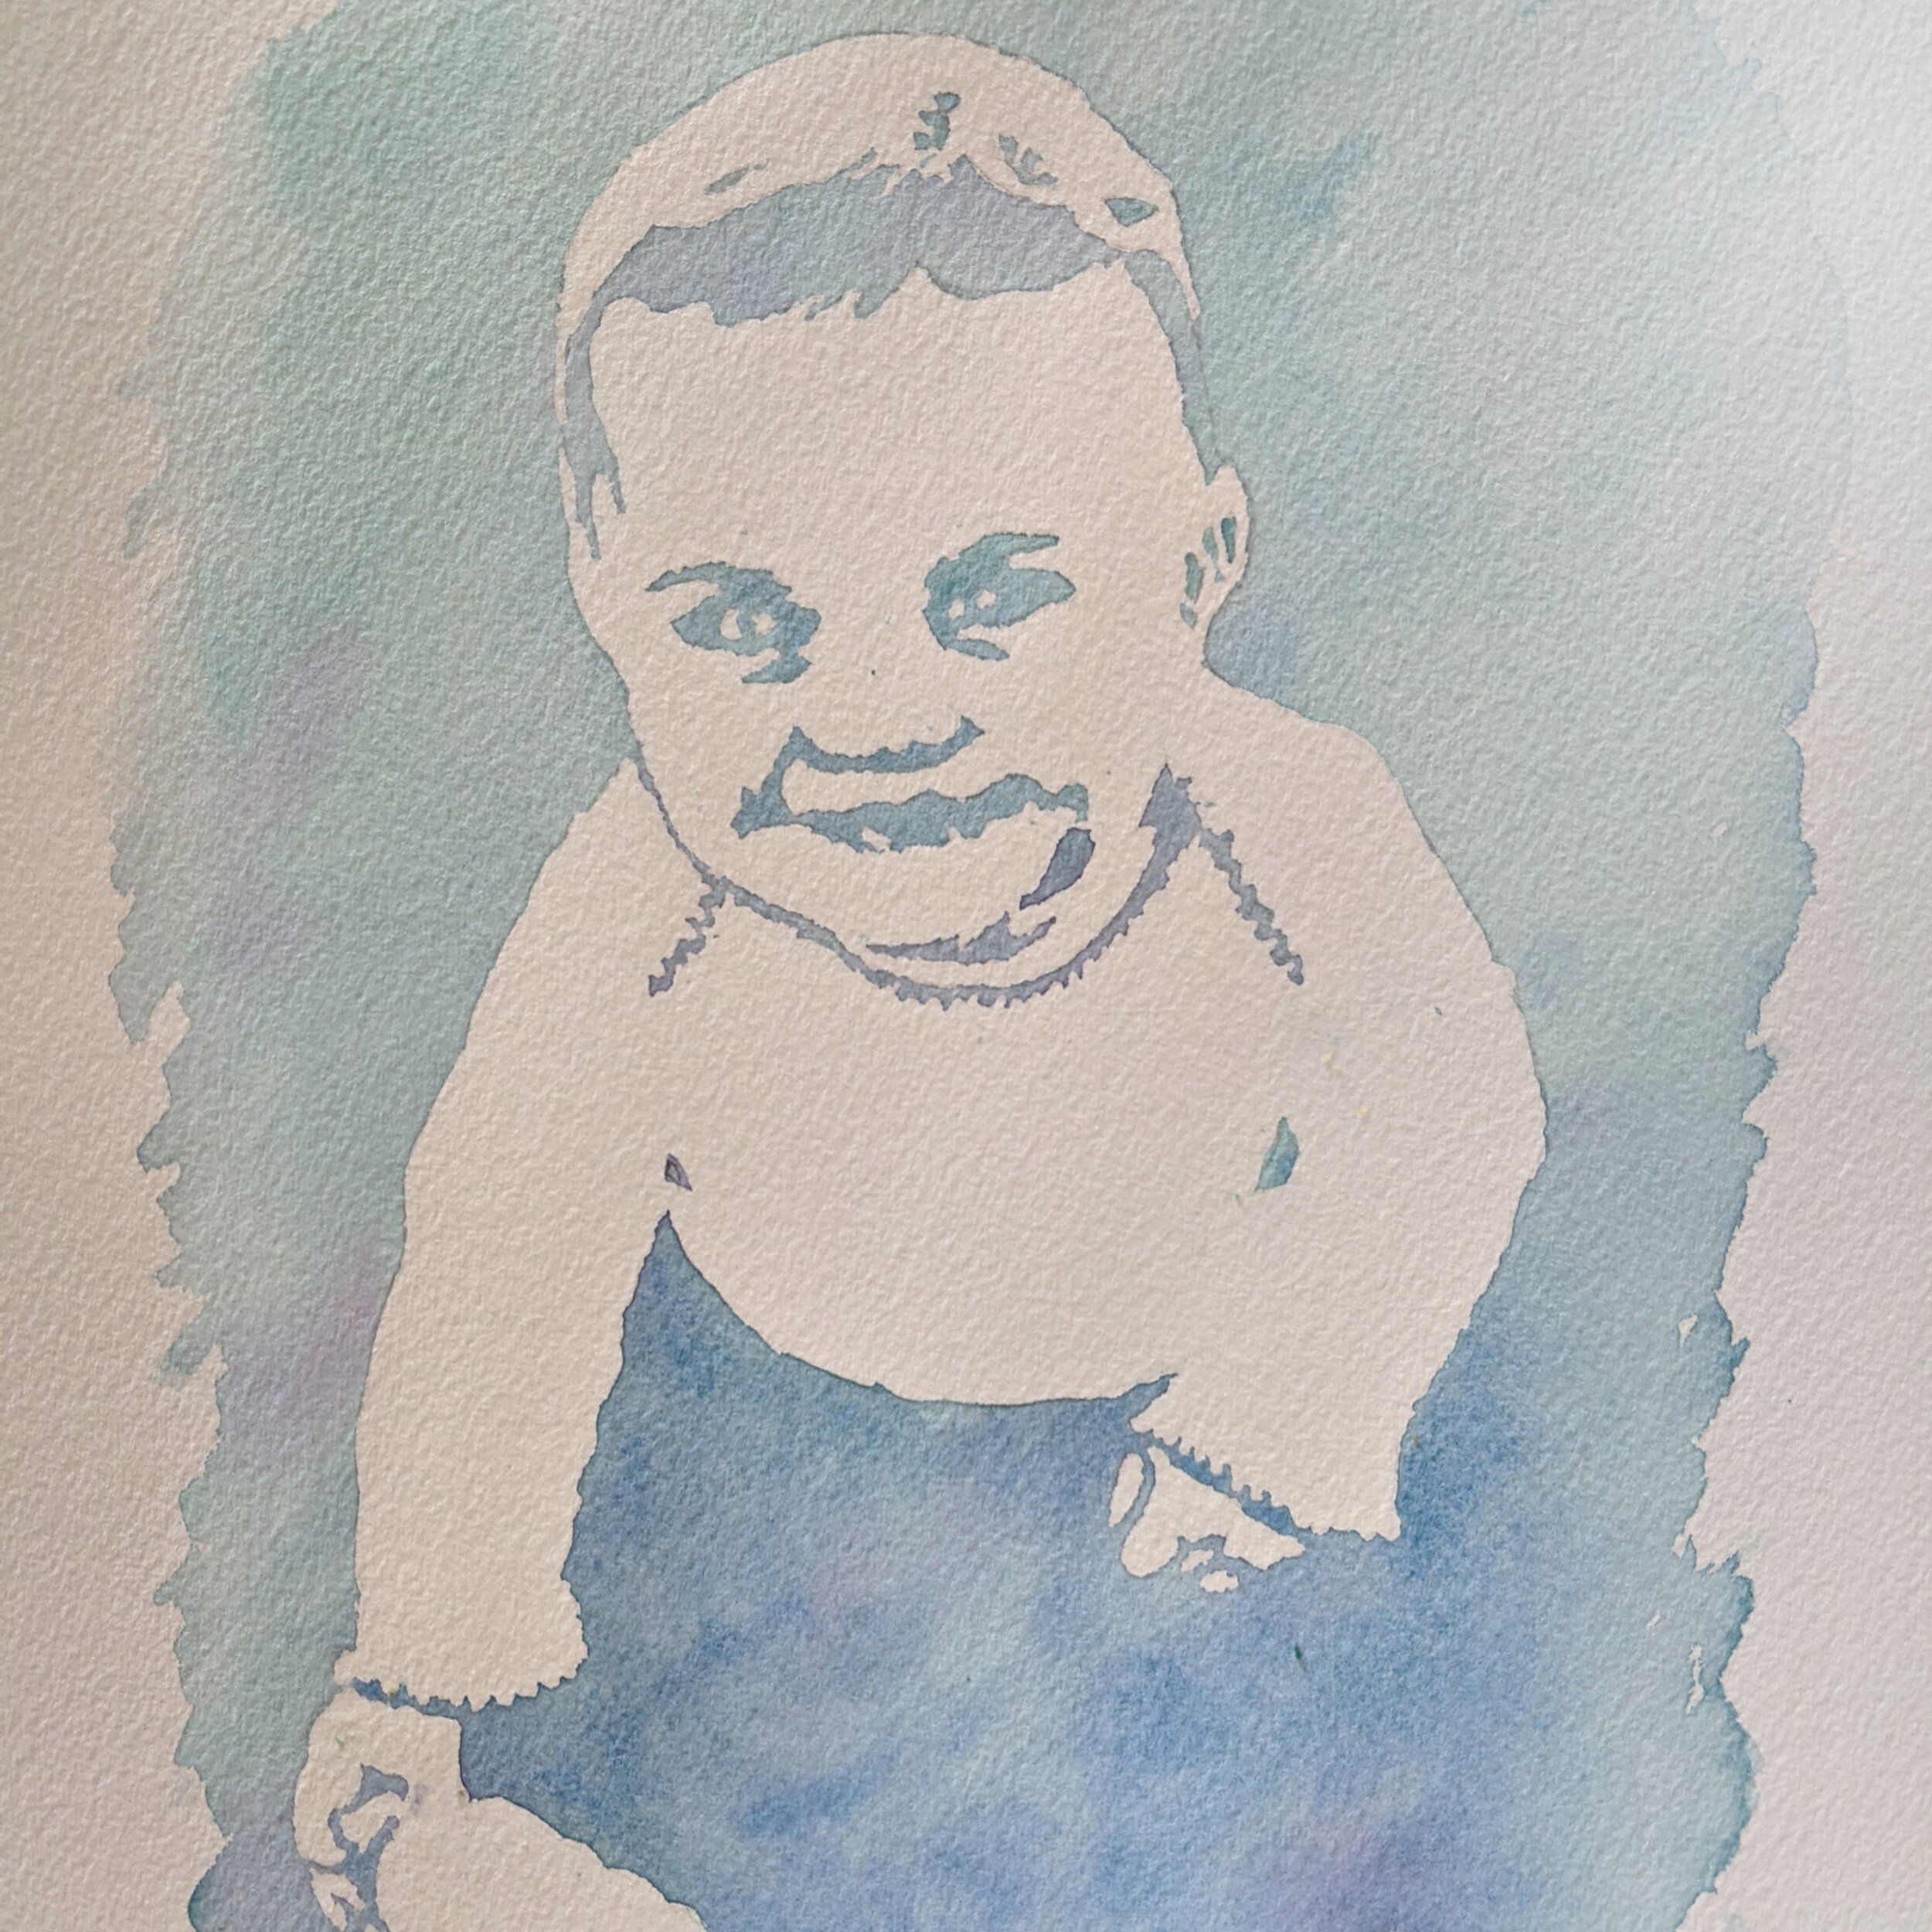
Easy Watercolor Portrait

As a relatively new watercolor painter, I’m still working on my portrait technique, which is why I was very excited to come across an idea for a much simpler portrait style using masking fluid in this blog. While I was intrigued by the idea of using masking fluid, I found that some of the techniques outlined in the original blog post weren’t working for me, so I decided to modify the process using a different portrait transfer process, which I find to be much more effective. I’ve included my version of the instructions below.
Materials:
Tracing paper
Pencil
Watercolor paper - I use Arches 140lb cold press ordered on Amazon
Masking fluid - I used Winsor Newton masking fluid
Artist ruling pen (optional) or watercolor brush for applying masking fluid - I use this artist ruling pen from Amazon; I find that it does a better job of applying masking fluid in very fine lines and also is much easier to clean up. If you don’t have one of these, you can still use regular watercolor brushes to apply the masking fluid just be sure to coat your brush in liquid dish soap first before dipping into masking fluid, otherwise, the masking fluid will ruin your brush.
Watercolor paints - you can use one or many colors
Watercolor brush for applying paint - I recommend using a least a size 10, though any size will do.
Masking tape (optional)
Instructions

1. Trace and Transfer Photo

2. Apply Masking Fluid

3. Paint Over Masking Fluid with Watercolors
4. Remove Masking Fluid
1. Trace and Transfer the Photo
I learned this trace and transfer technique from a professional watercolorist. The reason I like it better than other tracing methods are: 1) you can do it with basic tracing paper and a pencil - no fancy equipment needed, and 2) it leaves a very light pencil outline of your picture on the watercolor paper - other techniques I’ve used leave much heavier pencil lines, which show through the paint and can be hard to erase.
To trace and transfer your photo, do the following:
Identify a photo that you want to use, then use a computer program to edit the photo so that it is solely black and white - no grey. I used this free service from PinTools.
Tape your black and white photo down onto a hard surface, then tape a piece of standard tracing paper on top of it.
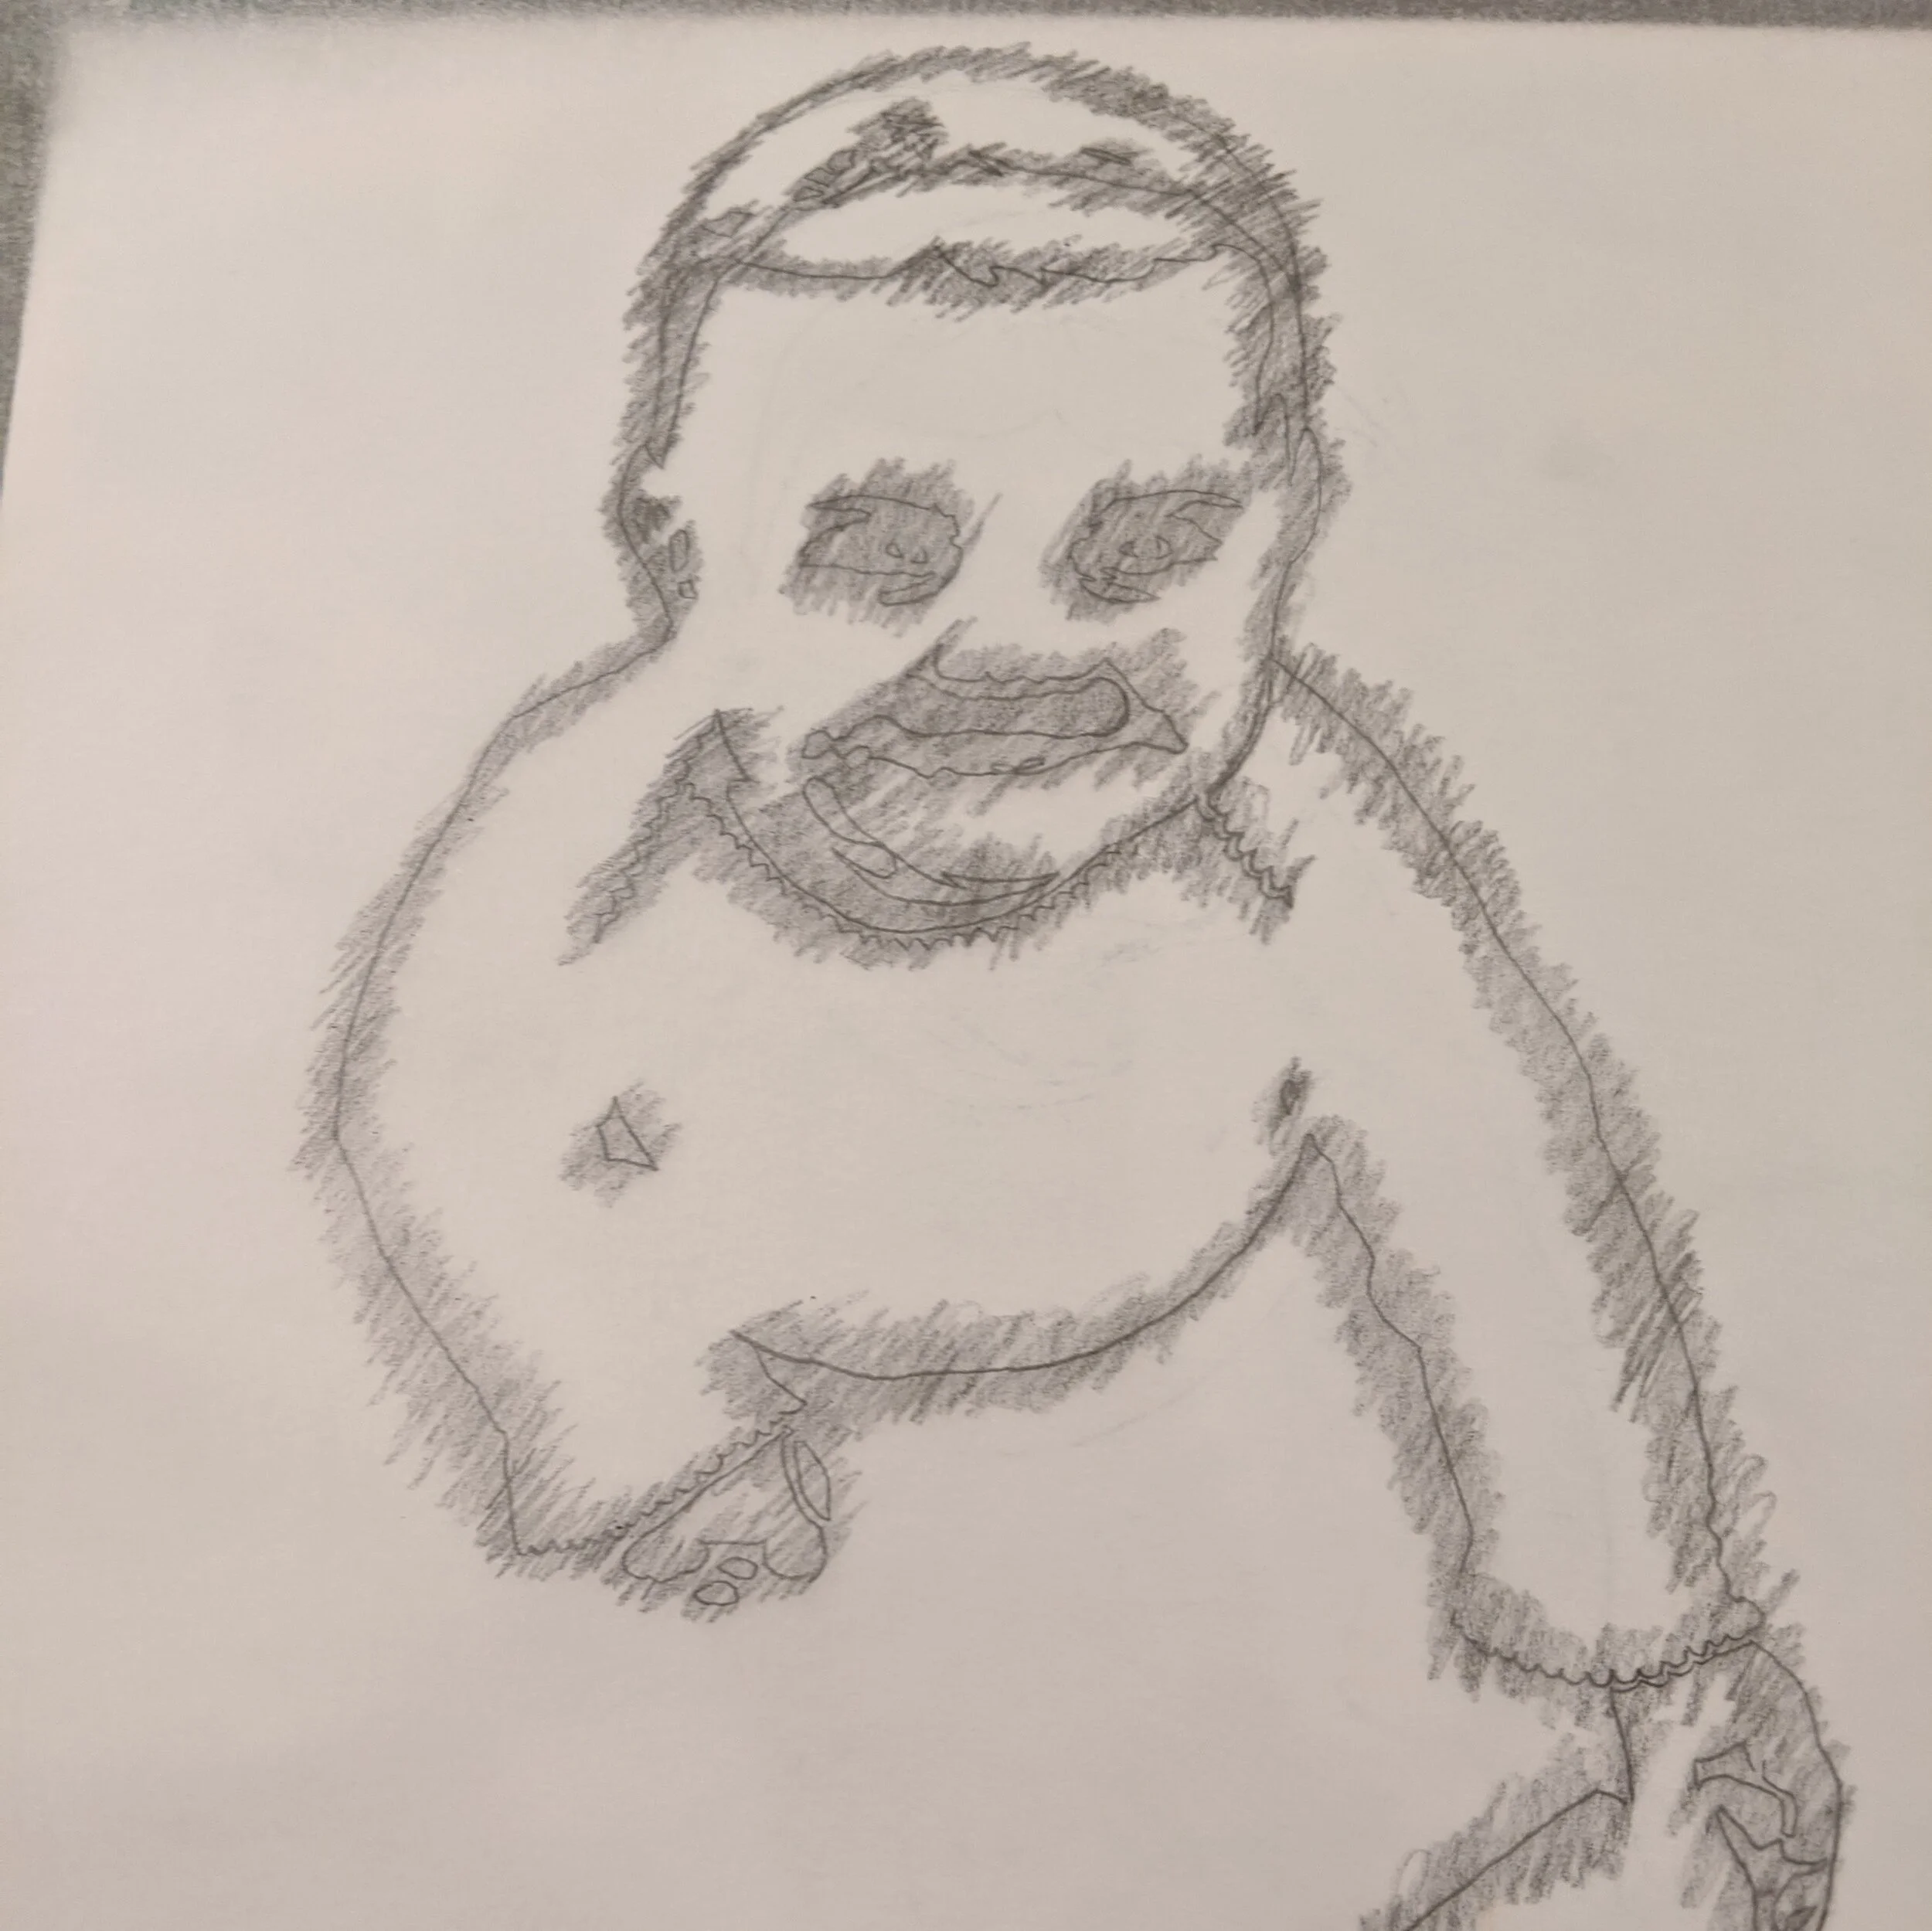
Trace the photo onto the tracing paper using a no. 2 pencil. Be sure to get all the small details of the face, especially the eyes.
Untape the tracing paper and flip it over so the pencil side is down.
On the back side of the tracing paper, shade lightly over all the areas that you traced.

Tape your piece of watercolor paper to a hard surface. Now, flip your tracing paper back over so the shaded side is facing down. Position tracing paper over the water color paper and tape in place. Using your pencil, retrace over the top of your original tracing.
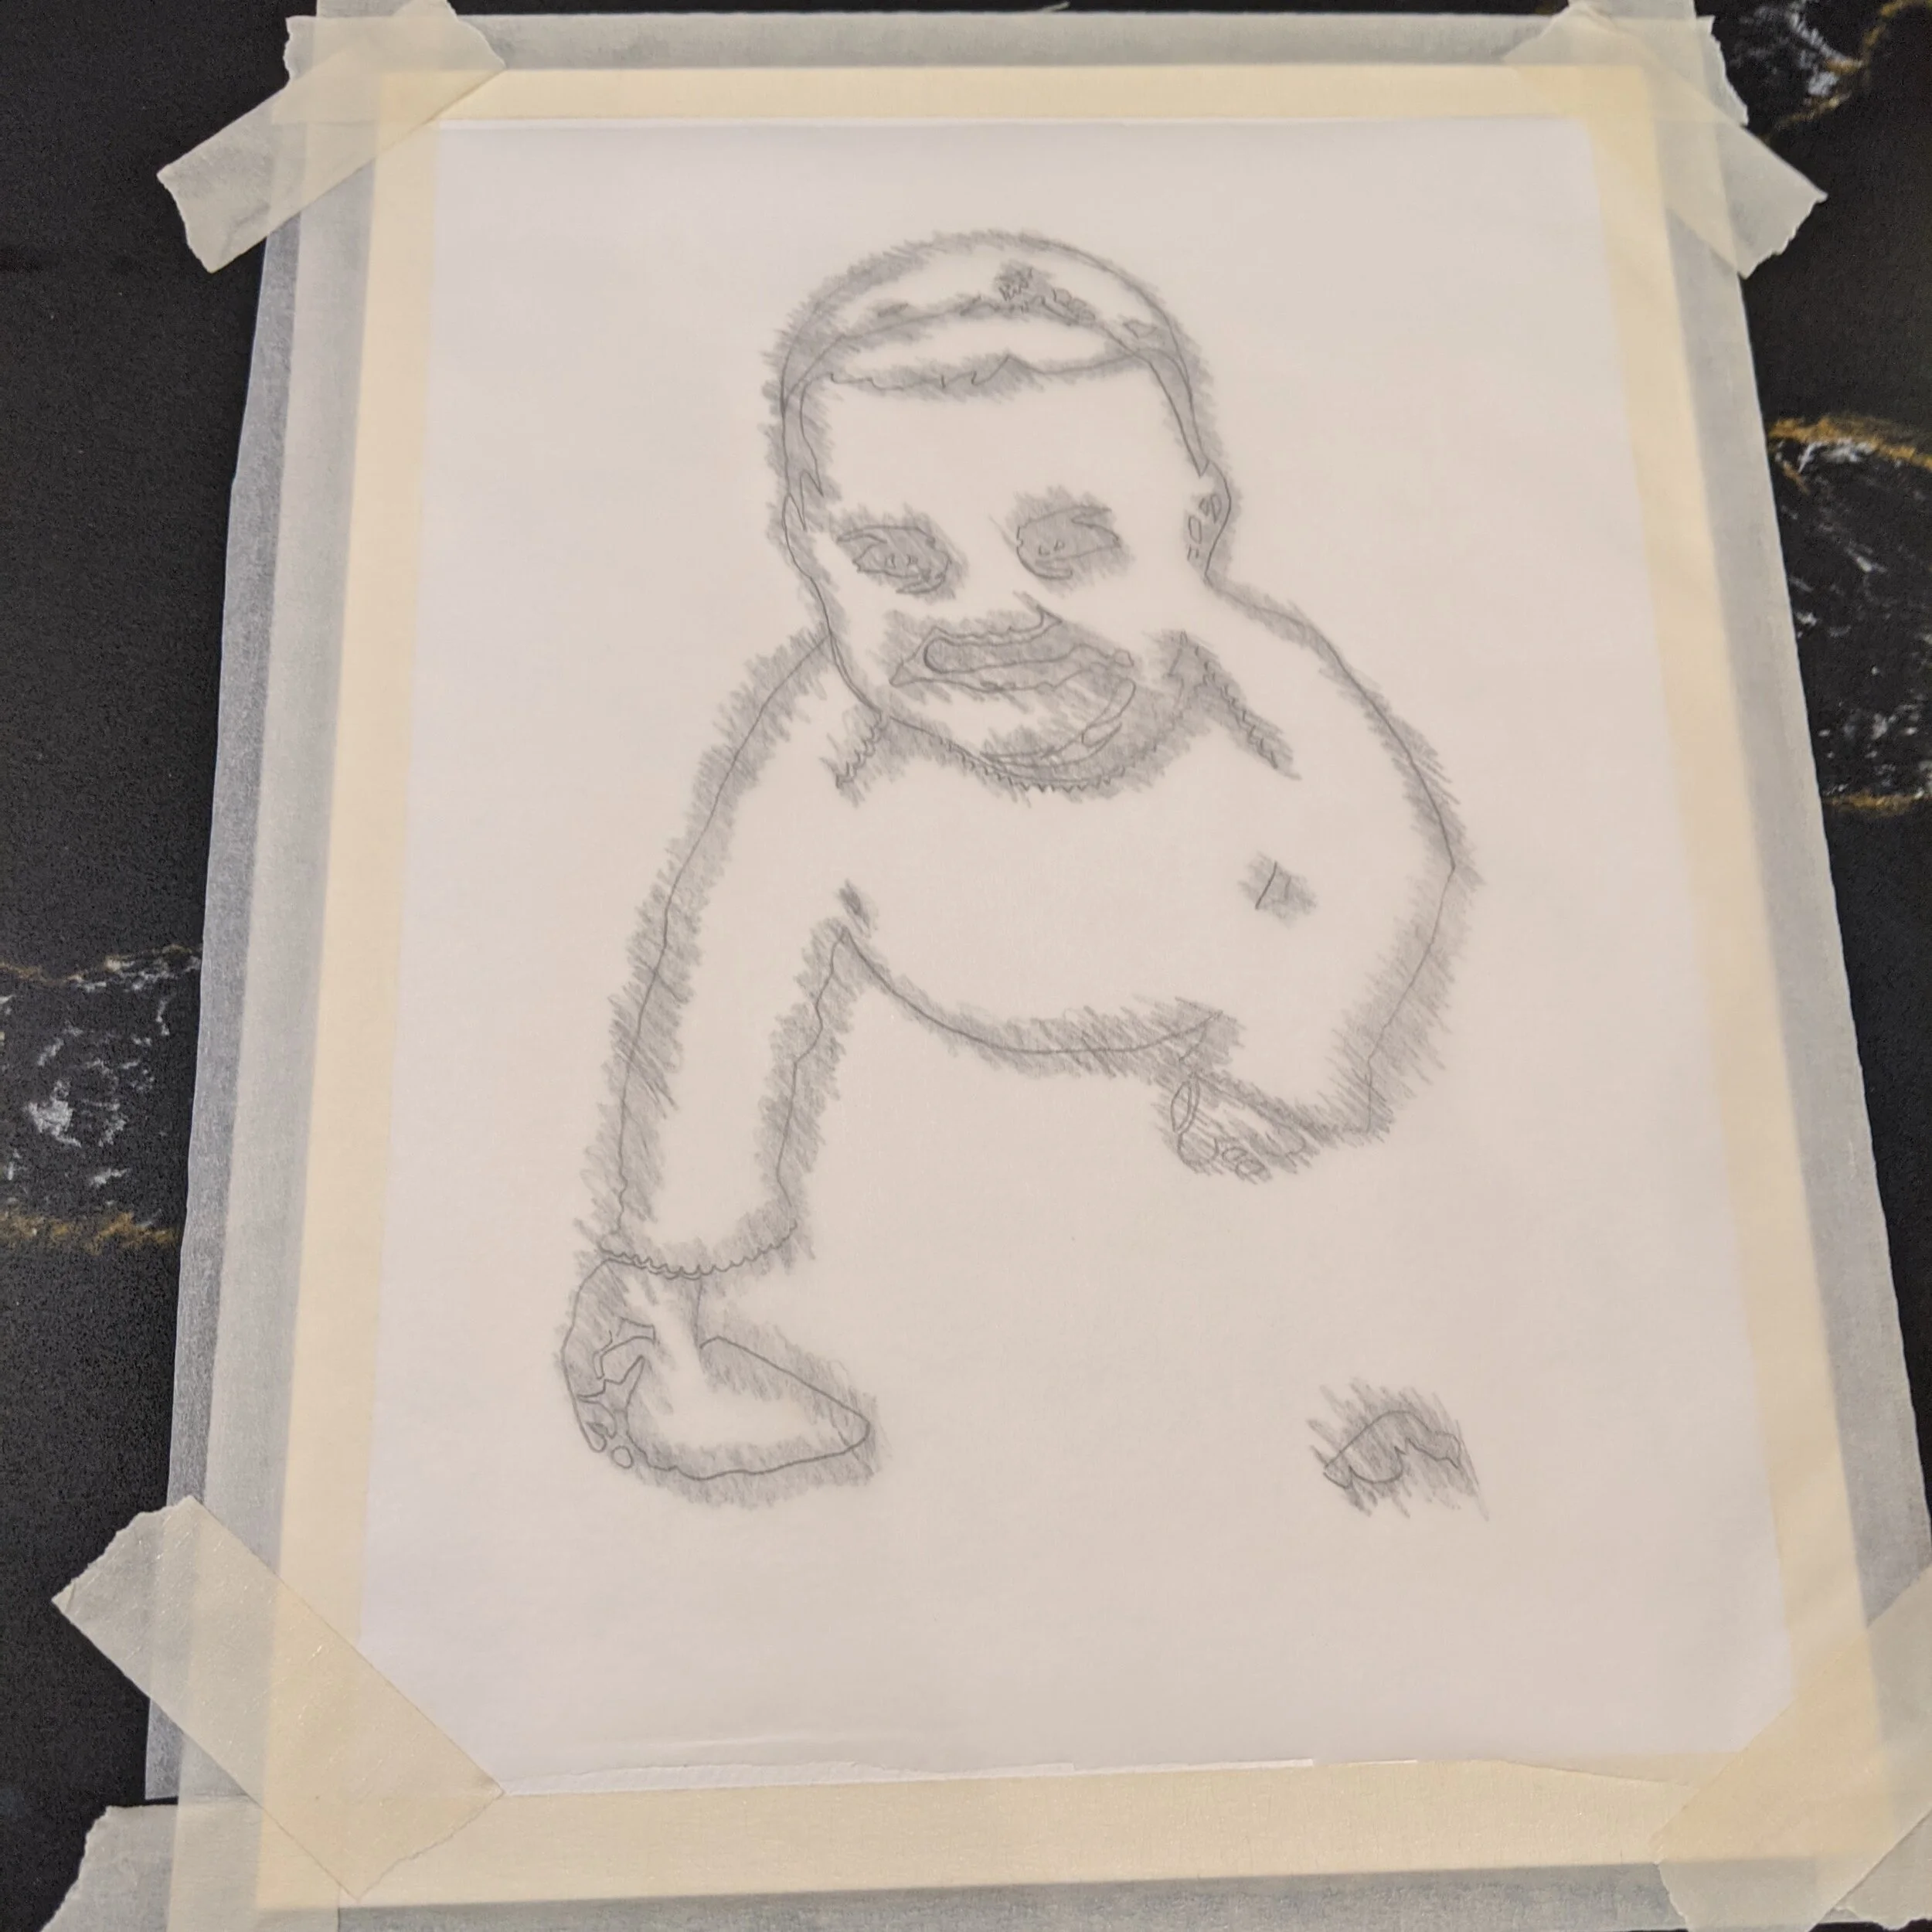
Since the shaded side is facing down, we have essentially created our own carbon copy paper. As you retrace, the pressure from your pencil will push the lead from the shading onto the watercolor paper, which will effectively transfer your drawing onto the watercolor paper. Finally, untape and remove the tracing paper.
If you’ve done this correctly, you should have a very faint, but readable, outline of of your picture on the watercolor paper.

2. Apply the Masking Fluid
Gently roll the bottle of masking fluid between your palms to make sure the fluid is evenly mixed as the tinting has a tendency to settle. Try not to shake the bottle as this will cause bubbles to form which can make it more difficult to to get a good coating of fluid on your brush.
If you are using a paintbrush to apply the masking fluid, coat the entire head of the brush in dish soap in order to protect the brush; otherwise, the masking fluid will dry like rubber cement and ruin the paintbrush.
Using your artist ruling pen or soap-covered paintbrush, apply the masking fluid over all parts of the drawing that you wish to keep white.

3. Apply the Watercolors
Before applying the watercolor, make sure your masking fluid is completely dry - though it will still be slightly shiny and sticky to the touch. I waited for about 3 hours.
Then, using a different brush than the one you used for the masking fluid, apply the watercolors over the entire surface of the paper. I painted wet-into-wet, meaning first I painted over the entire paper using just water, then while the paper was still slightly damp I applied the watercolors. You don’t need to be particularly careful applying the watercolor near the masking fluid - you just paint right over the top of it.

4. Remove the Masking Fluid
Allow the watercolor to dry completely before removing the masking fluid - I let mine dry overnight. Once it is completely dry, remove the masking fluid by peeling it off. I usually rub at it with my finger and then once you get it started it becomes fairly easy to peel off the rest of the way.
